Accessing Data
Ghub is partnered with UB CCR to provide access to large datasets. While we recommend you access Ghub datasets from their resource listings found on our Browse Data page, you can read on to learn about accessing datasets using Globus command line and web-based utilities.
Globus is a fast, convenient, and secure method to move, share and discover data via a single web interface. It lets you access multiple sources of data (HPC cluster, Cloud storage, Local Workstation or Laptop) by allowing you to use your organization's authentication and identity to connect to endpoints that provide access to data storage, all in a web browser.
Contents
- Ghub's Globus endpoints at CCR
- Using the Globus web application
- Globus connect personal: download data
- Using the Globus command line interface (CLI)
- Install Globus CLI
- Log in to Globus CLI
- Basic CLI use
- CLI documentation
Ghub's Globus endpoints
Prior to accessing Ghub data via Globus, ensure you are registered with the Globus service, using your email address at your home institution (or even your gmail address).
Once you are signed in to Ghub, our datasets are only a few clicks away!
We recommend you access Ghub's datasets using the resource listings found on our Browse Data page. Each resource listing provides complete information about the dataset, its provenance, scope, origin, and datatypes, so that you can make the best use of it in your work. All dataset resources stored on Globus endpoints also include a link to the Globus UI for straightforward access. In the sections below we provide further information about using Globus, for your reference.
Ghub adds new endpoints frequently. You can query Globus using the web user interface or the command line interface, and specifying the keyword ghub, to list all currently supported endpoints for the project. Instructions for listing endpoints are shown below, in Using the Globus web application and Basic CLI use.
Ghub's Globus endpoints
| Name | Contents |
|---|---|
| GHub-CESM | CESM ice sheet forcing data files from CMIP6 experiments |
| Panasas scratch ghubjobs | working directories for all Ghub jobs run on the CCR cluster |
| GHub-ISMIP6-Data | ISMIP6 directory on CCR /projects space |
| GHub-ISMIP6-Projections | Projections data from Ghub ISMIP6 project |
| GHub-scratch-regrid-tool | Ghub's scratch space for regrid tool result sets |
| GHub-CmCt | Datasets for use with the Cryosphere model Comparison tool (CmCt) |
| GHub-scratch | Ghub's scratch space at CCR |
| GHub-GrISObs | IceBridge ATM L2 Icessn Elevation, Slope, and Roughness data |
Accessing Ghub endpoints via Globus UI
Access the Globus user interface here: https://app.globus.org/
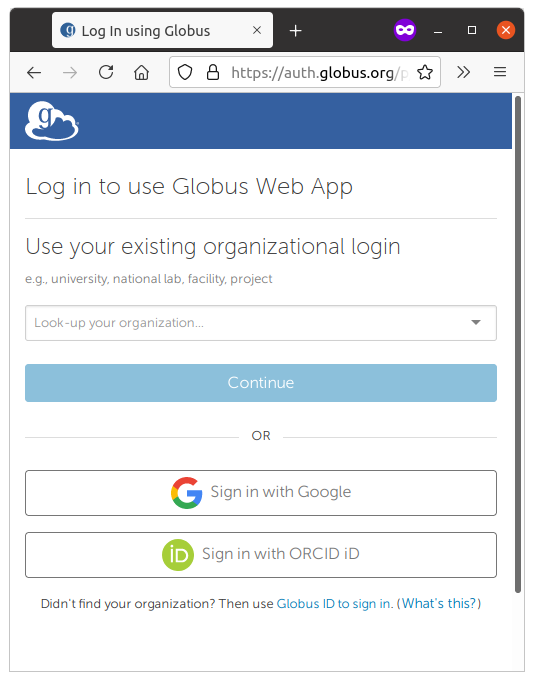
In the browser window, select your organization or home institution and click Continue:
Your organization or home institution will prompt you to perform authentication as recognized by Globus. This step will vary according to your organization.
Once you are logged in, the Globus File Manager page will display. Typing "ghub" in the Search text box results in the following listing of Ghub endpoints:
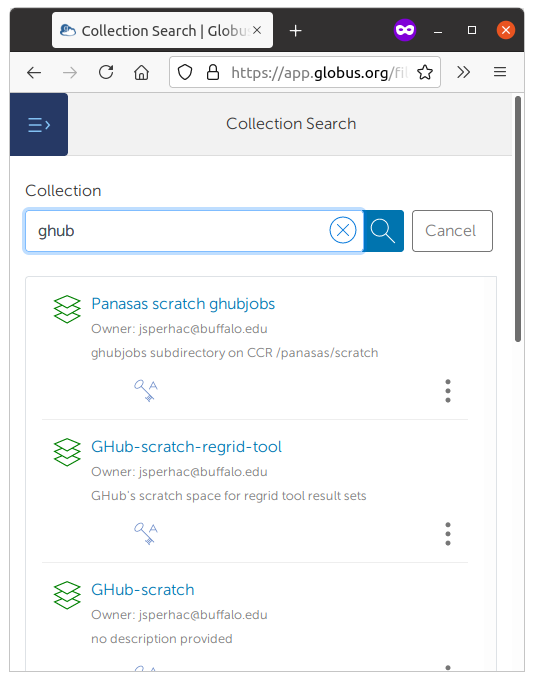
Globus displays all known endpoints that match your search. You may not have access to all displayed endpoints. Click on the name of an endpoint to which you have access, and Globus will display the endpoint's contents.
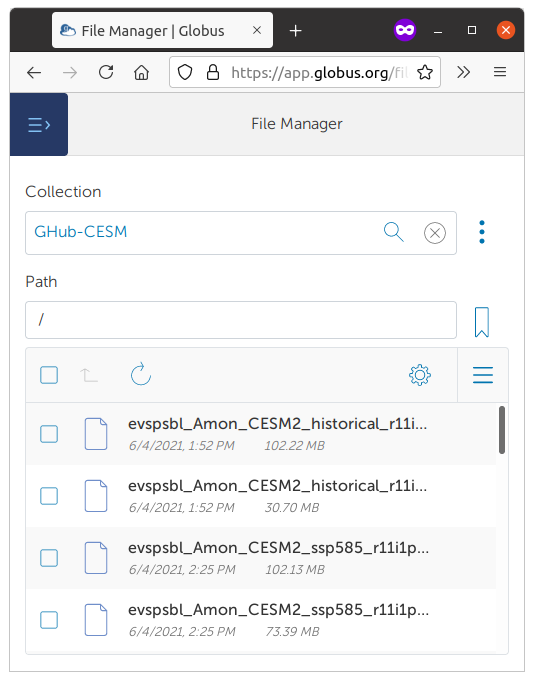
For example, here we view the 'Ghub CESM' endpoint contents. This endpoint contains the CESM ice sheet forcing data files from CMIP6 experiments, listed as shown in this screenshot:
More information is available in the excellent Globus docs: How To Log In and Transfer Files with Globus
Read on for how to download data using Globus connect personal.
Globus connect personal software
In order to download files from Globus endpoints to your local workstation, you will use Globus Connect. Information about installing and using it is found here:
Globus connect personal documentation
| Mac OS |
| Windows |
| Linux |
In order to download/upload files to and from the user's computer the user will need Globus personal connect installed, set up and running in the backdrop while accessing the Globus interface.
More specific information on how to upload and download data from and to the user's computer to/from the Ghub Globus database please find the documentation here .
If you have issues or questions, please contact us by submitting a Ghub or CCR ticket.
Using the Globus command line interface (CLI)
The Globus CLI is a standalone application that you can install on your own machine to access Globus endpoints and the data stored on them. You can interact with the CLI on the command line, or control it with scripting.
Note that the Globus CLI is also installed and available in the Jupyter Notebooks (Debian10) Ghub tool, under the geospatial-python3 kernel.
Prior to accessing Ghub data via Globus, ensure you are registered with the Globus service, using your email address at your home institution (or even your gmail address).
Once you are signed in to Ghub, our datasets are only a few clicks away!
Install Globus CLI
The Globus CLI can be installed using either pip or pipx running with Python3. We recommend pipx; instructions for installing it in Linux, Mac, or Windows are found here: https://pypa.github.io/pipx/installation/
Quick install
- install pipx
- install globus cli:
pipx install globus-cli
For more information, refer to the Globus docs on installing the CLI.
Log in to the Globus CLI
To login and start the CLI, run this command in your workstation terminal:
globus login
Your terminal should display:
You are running 'globus login', which should automatically open a browser window for you to login.
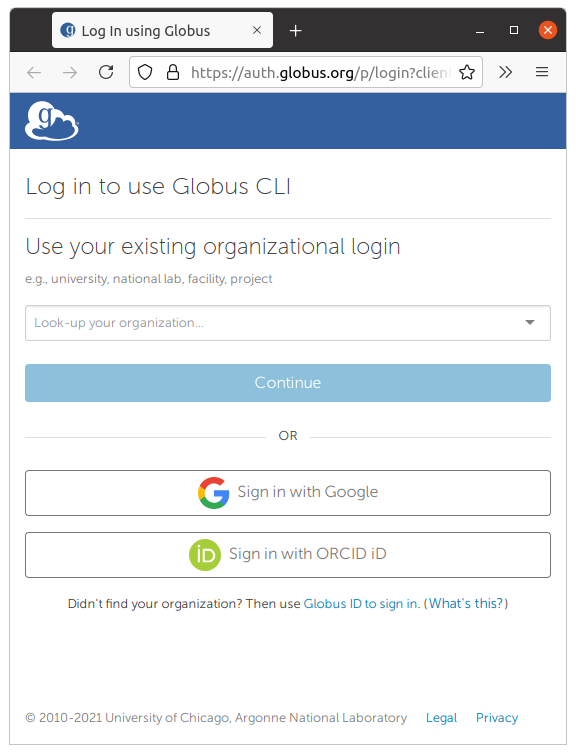
Globus will direct you to a browser window. There, select your institution that you use to authenticate with Globus and click Continue:
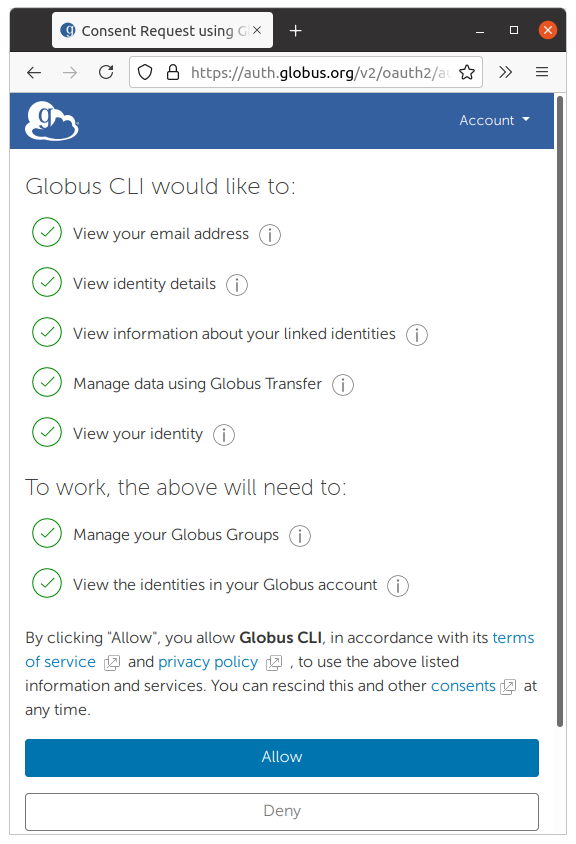
In the second window that displays, click Allow to enable Globus to authenticate you:
Your workstation terminal should display:
You have successfully logged in to the Globus CLI!
Alternately, you may be provided the message "Please authenticate with Globus here:" and a long URL. If so:
- Copy and paste the URL into a browser window, and then login to Globus as above.
- Once you log in, the browser displays a "Native App Authorization Code."
- In your terminal, you're prompted with: "Enter the resulting Authorization Code here:" where you should paste the "Native App Authorization Code" given in the browser window.
Basics of the Globus CLI
The Globus CLI supports a rich set of commands for terminal use or for scripting. Users can list endpoints, and if so authorized they can download, upload, and list endpoint contents. A few basic commands are shown here to get you started. Refer to the Globus documentation for comprehensive documentation.
| Task | Command | |
|---|---|---|
| check your current identity |
globus whoami |
|
| show all Ghub endpoints |
globus endpoint search "ghub" |
|
| list contents of an endpoint |
globus ls <endpoint id> |
|
| log out |
globus logout |
Example session
Below is shown a brief example globus CLI session. The session shows a successful authentication, a session information query, "GHub" endpoints returned from a search, and a successful listing of the contents of one such endpoint.
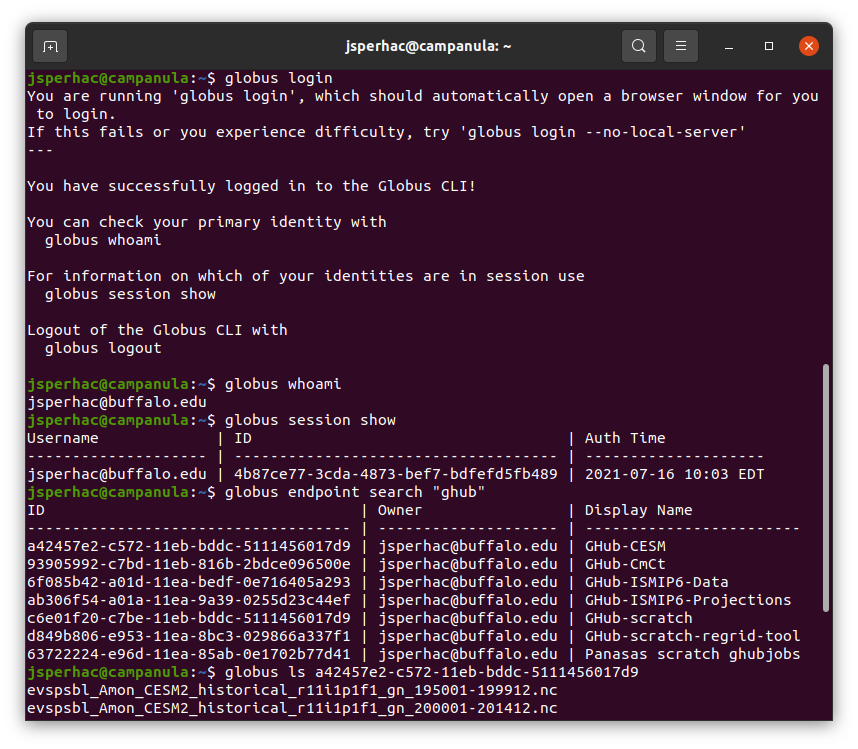
Note that the 'globus search' command returns all endpoints that satisfy search criteria--even those on which you lack permissions. For example, here I try to list contents of an endpoint to which I have no access:

Globus CLI Documentation
CCR's Globus CLI documentation shows selected additional commands (such as download and scripting information):
Globus documentation provides comprehensive information about installing, using, and scripting the Globus CLI:
- Install Globus CLI
- Globus CLI quick start
- Examples
Not registered? Join us on Ghub! Register now.